2026-06-04
Second scan, second sweep, second class of friction
openusdscaniverseblenderphysical-ailearning-log
The first OpenUSD post covered a patchy cruise-ship scan. The second was hand-writing USD Python. This one is iterating the scan pipeline now that the muscle memory is there, and discovering that “second-iteration friction” is a different class of problem entirely.
Applying the lesson from day one: slow down
Day 1’s friction-log entry #3 was: “First-time LiDAR scans are patchy because users walk at normal indoor pace.” The fix was: slow down, keep the phone at chest height, stay within 1-2m of surfaces, sweep side-to-side. Today I tried it on a hotel room.
It worked. The mesh came back dramatically more complete: bed, dresser, lamp, TV, painting, even the dim corner near the bathroom door reconstructed cleanly. Compared to the cruise-promenade scan (chairs and railings only, missing chunks of wall and ceiling), this looked like a different category of capture.
What “slowing down” actually feels like during a real scan is uncomfortable. You stop near each surface, hold the phone steady, sweep it side to side deliberately, then move to the next surface and repeat. It feels performative and weird, and there’s no in-app feedback telling you whether the coverage is good until processing finishes. Day 1 framed the missing feedback as a documentation problem. After actually doing it, I think it’s more than that. The app needs live coaching during capture. The technique is counterintuitive enough that doc-reading alone doesn’t change behavior.
Your first attempt at any new sensor-driven workflow is calibration data, not output. The cruise-ship scan wasn’t bad work; it was the right kind of work to do first, because it produced the friction notes that told me what to change.
What I scanned
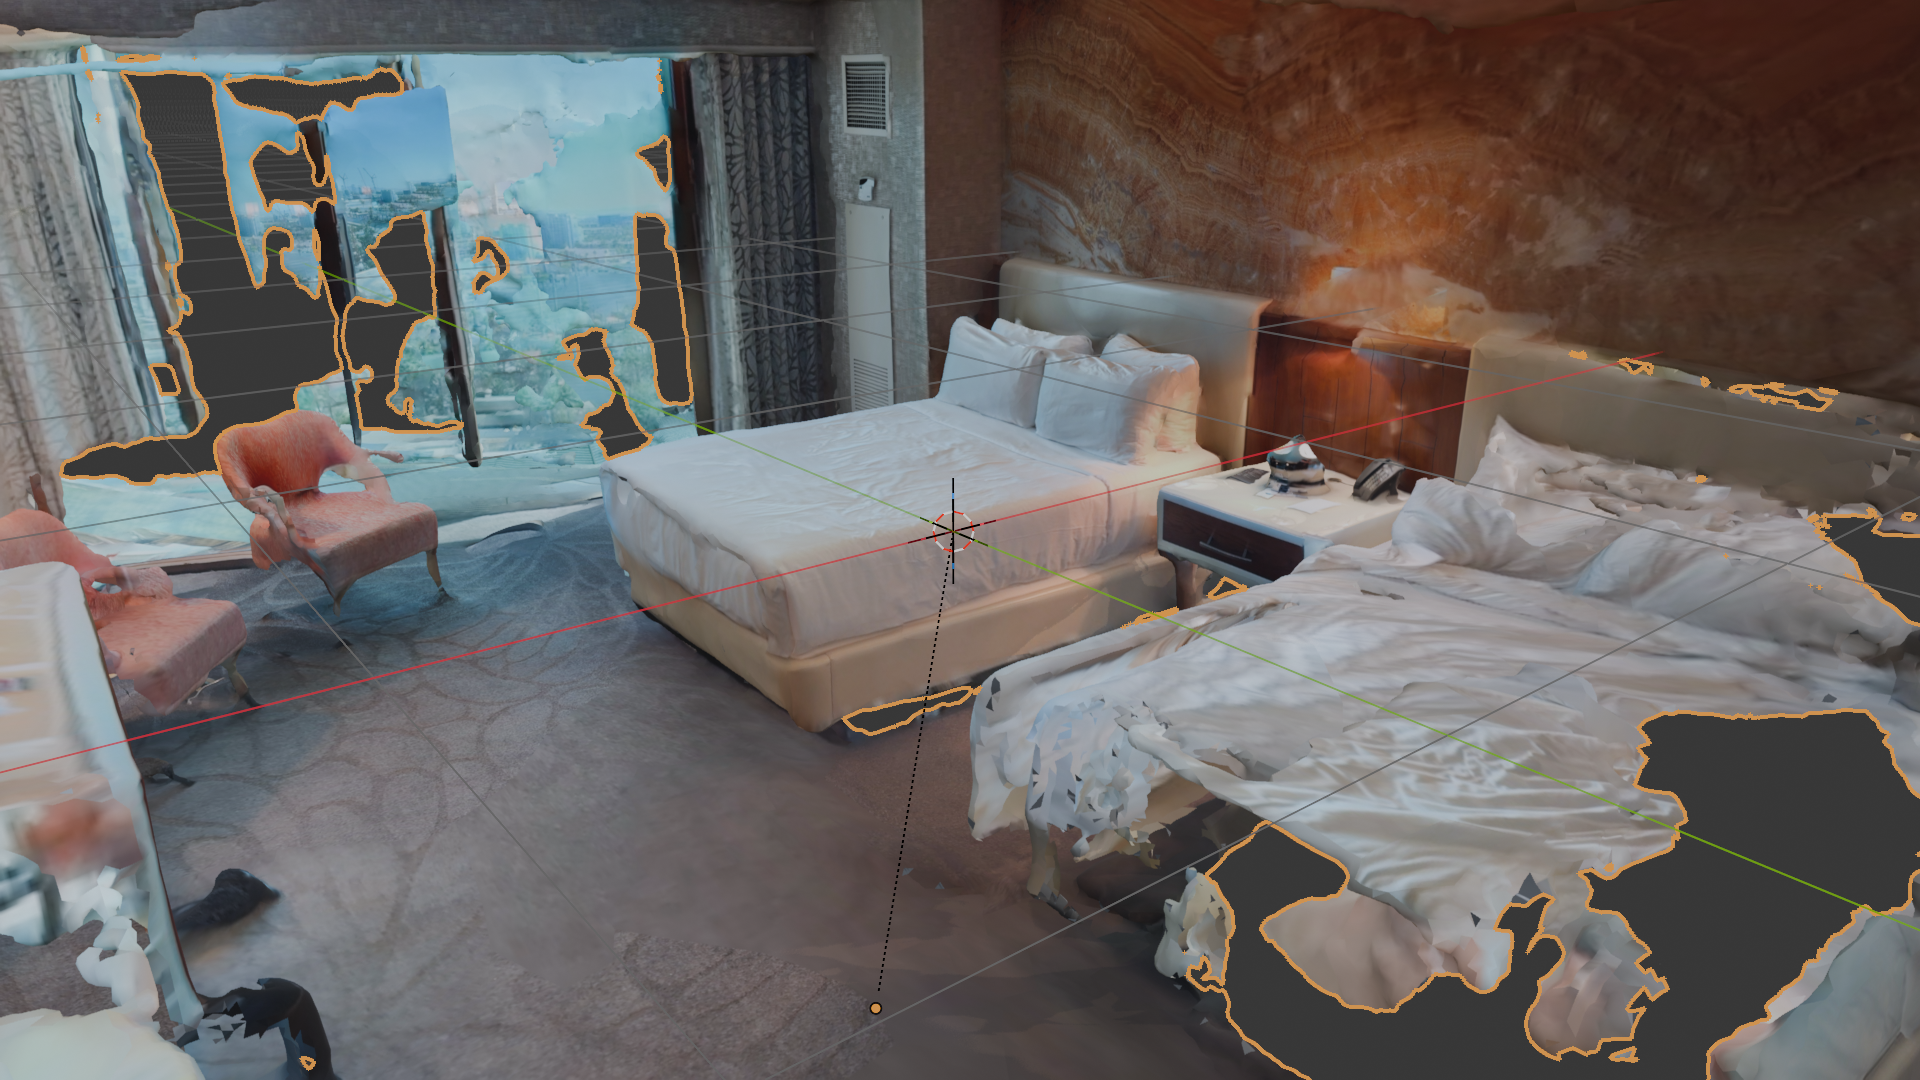
The improvement isn’t subtle. The bed reconstructs as a continuous surface instead of patchy fragments. The dresser keeps its right-angle edges. The painting on the wall retains enough texture detail to read as a real painting and not a smeared blob. The lamp on the nightstand survived with its shade intact. Most important variable was capture pace; second most was staying within about a meter of surfaces.
The new failure mode
The improvement surfaced a problem the patchy day-1 scan didn’t have, because the patchy day-1 scan never tried to be a complete room.
I wanted an external screenshot looking down into the geometry from above. The scan included the ceiling, correctly, because rooms have ceilings. The ceiling makes the room a closed box from any external angle. Every external screenshot just shows the top of a featureless white volume.
The standard Blender fix is to hide the ceiling faces. Edit Mode, Face select, hover over a ceiling face, press L to select all linked faces. Expected: the whole ceiling lights up. Reality: maybe 5 to 10 percent lit up, because the scanned ceiling isn’t one continuous mesh. It’s dozens of fragmented islands separated by tiny holes from places the scan didn’t capture cleanly.
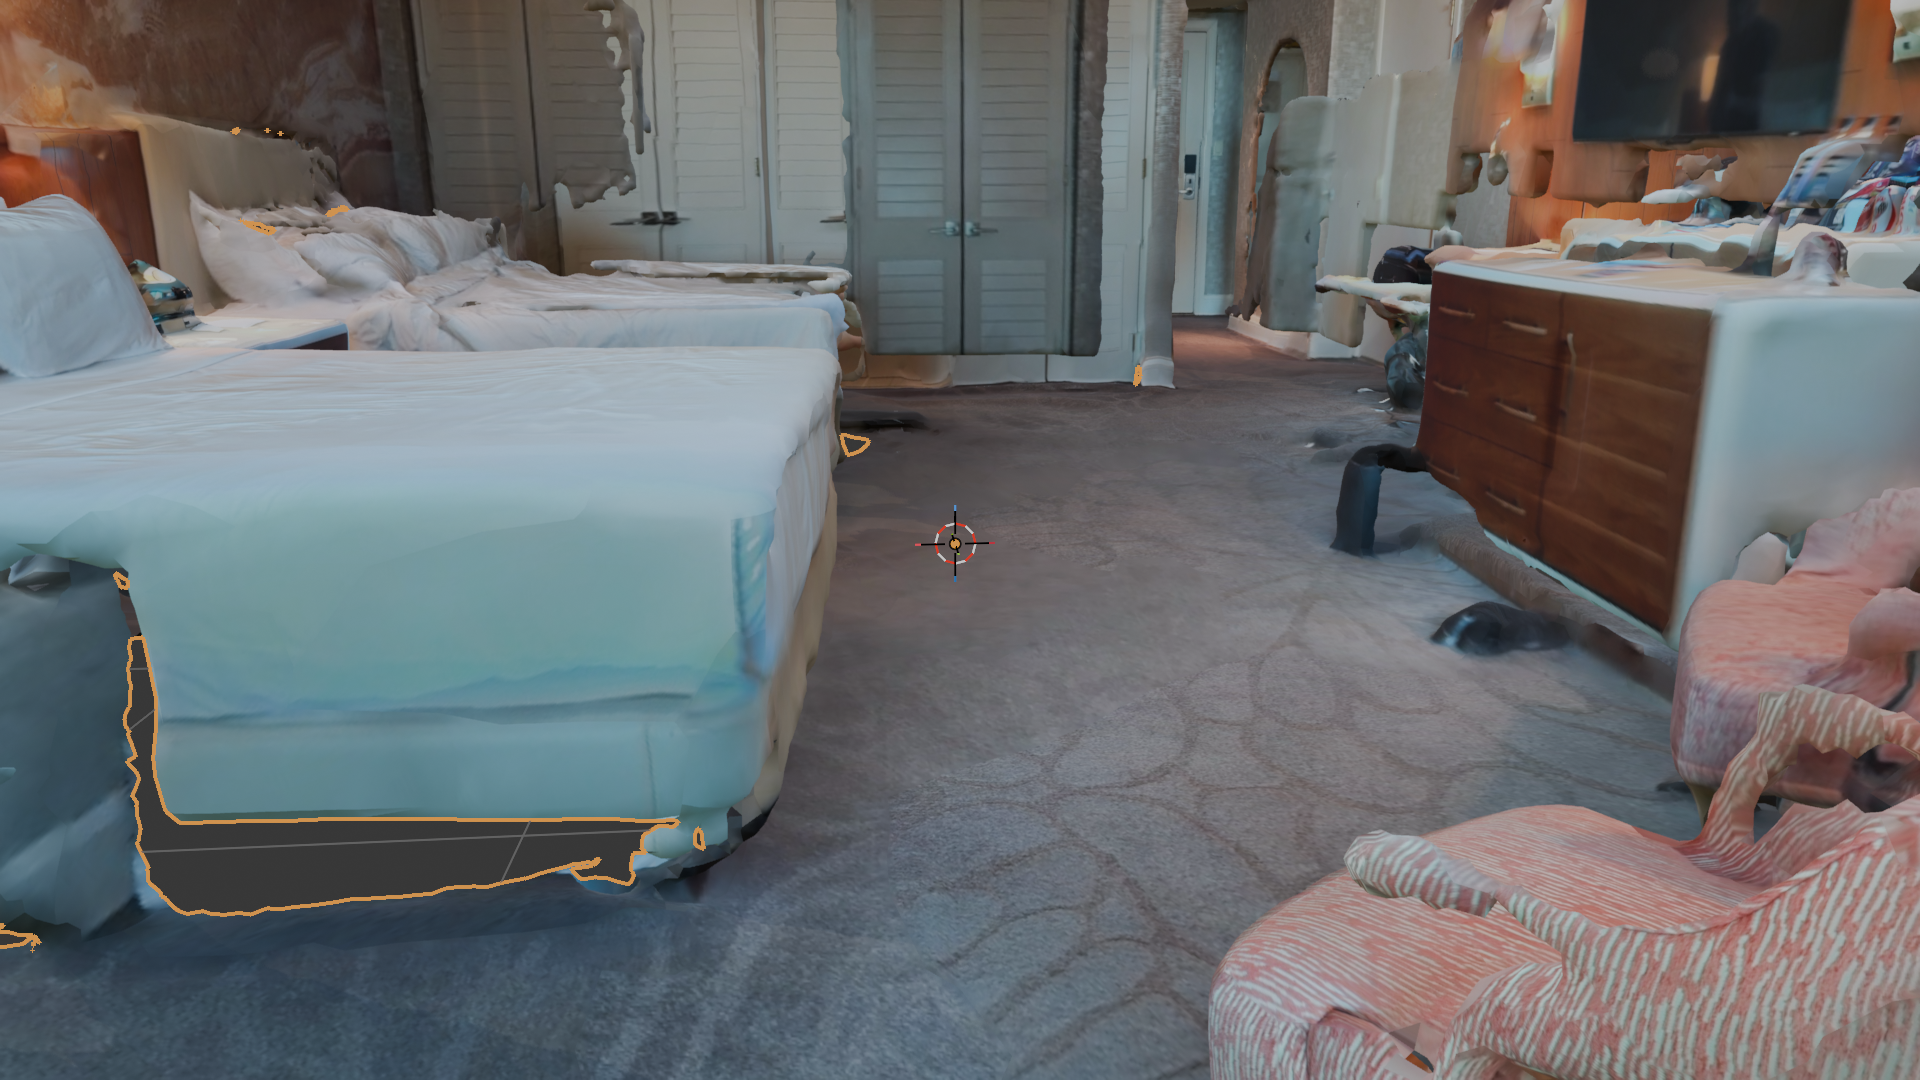
To actually select the whole ceiling I’d need to repeat L 20-30 times, or write a Python snippet that selects all faces above a Z-threshold (works, but is gatekept behind “know Blender’s Python API”). I gave up on external screenshots. The interior camera angle (low, near a corner, looking diagonally across the room) renders beautifully and doesn’t require any geometric surgery. The fix was to not try.
Second-iteration friction is a different category from first-iteration friction, and most tutorials only cover the first kind. First-iteration friction is about getting any output at all: install, fight defaults, capture, file on disk. Day 1’s notes were almost entirely this category. Second-iteration friction is about getting the output to be useful for whatever comes next downstream. Tutorials rarely cover this, because it’s workflow-specific and the tool authors don’t know which downstream you have in mind. The honest version of a learning log goes further than attempt one.
Friction notes
Room scans with ceilings make external screenshots impossible, and the obvious DCC-tool fix doesn’t work. Scaniverse-output USDZ ceilings come back as fragmented mesh islands (holes break geometric continuity), so Blender’s “select linked” can’t grab the whole ceiling in one shot. You’d have to L dozens of pieces, or write a Python snippet to select by Z-threshold. Doc-fix: Scaniverse should optionally export ceiling, floor, and wall as separate prims in the USDZ so downstream tools can toggle visibility without geometric surgery. The whole real-estate and digital-twin workflow needs this. It’s a one-line classification step at export time.
“Just slow down” is the right answer for capture quality, but the docs framing buries it. Scaniverse’s getting-started flow treats every scan as equivalent. A real-world DevRel-shaped framing would be: “Like any new sensor workflow, your first 2-3 scans are calibration data. Here’s what you’ll learn from each one.” Doc-fix: add a short “first-scan expectations” page to the onboarding flow, with side-by-side examples of patchy-vs-complete coverage.
What this tells me about real-to-sim
The reason this matters for an NVIDIA Physical AI conversation isn’t the screenshot. It’s that the gap between “a scan exists” and “a scan is useful as a digital twin” is mostly about classification metadata, not geometry.
Geometry quality is solved. Modern phone LiDAR plus modern mesh reconstruction produces meshes good enough for downstream simulation. What’s not solved is the workflow assumption that scan outputs should arrive with semantic labels (ceiling, floor, wall, furniture, window) so Blender, Omniverse, and Isaac Sim can act on them surgically.
This is the kind of “boring infrastructure that unlocks the cool demo” problem network-engineering DevRel has spent the last decade on. NetBox didn’t take off because it stored device data; it took off because it provided the classification structure every other automation tool could read from. The same pattern feels missing in real-to-sim right now.
OpenUSD is positioned to be the classification substrate the real-to-sim workflow needs. The work to make that happen isn’t technically interesting work: it’s data-modeling work, schema work, convention work. Deciding that “Wall” and “Ceiling” and “Floor” and “Furniture” are first-class concepts that should appear as typed prims in the USD output of a room scan, instead of letting the room come back as one anonymous mesh that downstream tools have to re-segment by hand. Pixar built USD for film and animation, where assets arrive with deep manual classification baked in by artists. The real-to-sim use case inverts that. Assets arrive raw from a sensor and need automated classification on the way in. The schemas for that classification are an unsolved problem; the convention layer on top is even less solved.
Different vocabulary, different reference architectures, same load-bearing idea. Classification metadata is what unlocks the workflows everyone wants to do. Network automation spent 10 years figuring that out for infrastructure work.
What’s next
- Composition Basics chapter from LearnOpenUSD, then hand-redo
01_references.py. - Hand-write
compose_scene.pythat references the cruise-promenade USDZ AND a primitive composed on top. The “non-destructive pipeline” demo in its smallest possible form.
Reach me on LinkedIn or via Sierra Code Co.